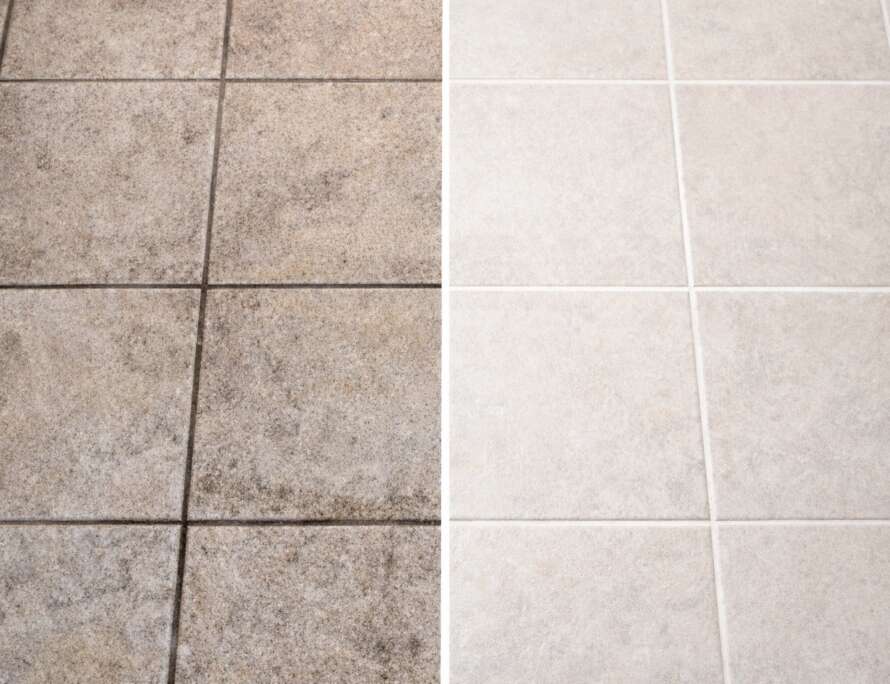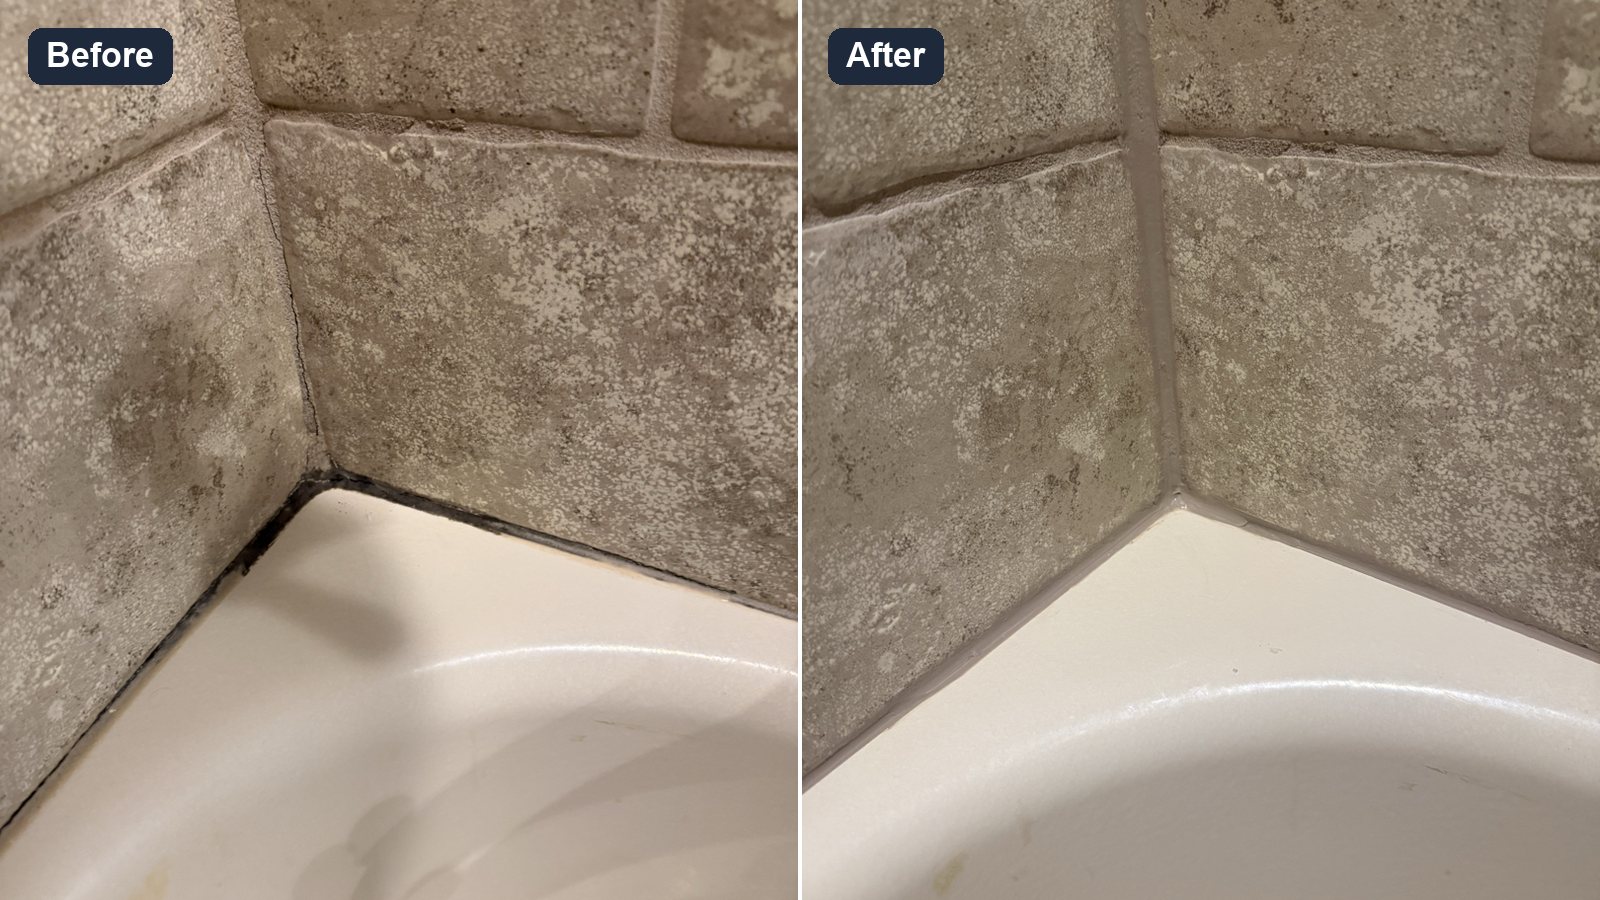
You bleached it, scrubbed it, and the black line in your shower grout or caulk came back anyway. Here’s how to tell if it will ever scrub off.
Short answer: hold a cotton ball wet with a little household bleach on the darkest spot in your shower caulk. If it fades within 45 seconds, the mold is on the surface and you can clean it. If it does not, the mold is usually under the caulk, and the old caulk has to come out.
Most Kansas City homeowners fight shower mold the same way: a stronger spray, a stiffer brush, another Saturday on their knees. Sometimes that works. Often it doesn’t, and the reason is not effort. It is where the mold is living. Mold sitting on top of your caulk or grout cleans up with things you already own. Mold living inside the caulk, or feeding on water trapped behind it, will come back no matter how hard you scrub.
This guide gives Kansas City homeowners a 45-second test to tell the two apart, a safe routine for the easy kind, the myths that waste most people’s weekends, and the signs that it is time to have someone look behind the tile.
Is It Even Mold? Five Things That Look the Same on Tile and Grout
Before you buy anything, know what you are looking at. A dark line in a shower can be one of five things:
- Mold on the surface of the caulk or grout. It looks like black or gray specks and usually wipes lighter with a cleaner.
- Mold inside or under the caulk. The spots sit below a clear, smooth skin, and no cleaner touches them.
- Soap scum and body oil. A dull gray film, worst at the bottom of the walls, that feeds mold if you leave it.
- Mineral buildup. Some dark streaks are minerals from your water mixed with soap scum, and a few cleaners turn them darker, not lighter.
- Pink or orange slime. That is usually a bacteria, not mold. It cleans off the same way, and it comes back for the same reason: water that sits.
🧪 The 45-Second Test: Is the Mold On Your Caulk or In It?
Caulk makers suggest a simple test. Wet a cotton ball with a little household bleach, press it against the darkest spot in the caulk, and hold it there while you watch the color.
- The spot fades almost right away: the mold is most likely on the surface. Cleaning should work.
- It takes 45 seconds or longer, or the spot is back within a few weeks: the mold is most likely under the caulk. The caulk makers’ own advice is that new caulk laid over it will not fix it, because the growth is still there.
The color is a clue, not proof. Treat it as one piece of evidence alongside the signs further down.
| What you see | On top | Under the caulk |
|---|---|---|
| The 45-second test | Fades fast | Fades slowly or not at all |
| After cleaning | Stays away for months | Back within a few weeks |
| The caulk itself | Firm and stuck to the wall and tub | Soft, peeling or pulling away |
| What fixes it | The cleaning routine below | The old caulk out, the joint dried, new caulk |
Homeowners online land in the same place. On one long forum thread, a homeowner left a bleach-soaked cotton ball on the caulk overnight, saw no change, and concluded the mold was on the inside of the caulk. Their next step was a recaulk.
Here is what our crew has learned on the job: caulk that turns black or starts spotting is usually telling you water is getting behind it. Treat it as an early warning, not a stain.
Before you try it: gloves and eye protection on, fan running or a window open. Use it only on light-colored caulk in a ceramic or porcelain tile shower, never on natural stone, acrylic, colored grout or metal trim. Try a small spot first, rinse with water afterward, and never mix bleach with vinegar, ammonia or any other cleaner. If you have asthma or chemical sensitivity, or the mold covers a large area, skip the test.
Not sure what you’re looking at? Book a free assessment
🧽 The Cold Remedy: How to Clean Light Mold Off Grout and Caulk
If the test says the mold is on top, this routine is all most showers need. Think of it as treating a cold. It is not surgery.
At a glance
Time: about 20 minutes, plus drying
You need: white vinegar, baking soda, 3% hydrogen peroxide (optional), a soft brush or old toothbrush, gloves
Works on: tile showers with ceramic or porcelain tile. Not for natural stone or acrylic surrounds (see below).
- Turn on the fan and open a window. Put on gloves.
- Spray white vinegar on the caulk and grout lines. Let it sit 15 to 30 minutes.
- Rinse it off.
- Then use baking soda separately. Mix it with a little water into a paste, brush it into the lines, and scrub gently.
- Rinse and dry the area with a towel.
- For stubborn spots, use 3% hydrogen peroxide in place of the vinegar. Spray, wait 15 to 30 minutes, scrub gently, rinse, and dry.
Two warnings that save people money:
- Natural stone does not like acid. Vinegar and anything with citrus on the label can etch marble and travertine. On stone, use a pH-neutral cleaner made for stone.
- Acrylic tub surrounds can be dulled by strong cleaners. Check the manufacturer’s care instructions first.
Black inside the caulk, or the grout feels sandy and pitted? Skip the scrubbing. No household cleaner reaches inside cured caulk, and scrubbing harder can loosen its edge. That is the point where cleaning stops helping.
💧 Why Shower Mold Keeps Coming Back: The Water You Can’t See
Mold needs three things: water, warmth, and something to eat. A shower supplies all three every day. When it keeps coming back in the same spot, the usual reason is water that never dries, either because the room stays humid or because water is getting in behind the caulk or the tile.
11 of the last 30 jobs our crew handled traced the problem to water getting in where it should not. Three of those jobs, all from around Kansas City, show how it plays out:
- Gladstone. We pulled the old caulk and found more moisture than expected behind it. Instead of caulking over a wet joint, we ran a dehumidifier in the bathroom over the weekend, then came back to seal and caulk once it was dry.
- Brookside. The homeowner expected a simple clean and seal. When a few tiles came off, the drywall behind them had rotted from water getting in through cracked grout. That shower needed new mortar behind the tile before anything else.
- Independence. A condo shower with missing grout and moldy caulk had a leak showing in the ceiling below. Replacing the grout and the caulk ended the leak.
None of those started as a big problem. They started as a dark caulk line someone kept scrubbing.
What helps keep it away, honestly:
- Run the bathroom fan during the shower and for 20 to 30 minutes after.
- Squeegee or towel the walls and the caulk line, especially where water pools on the tub ledge.
- Clean weekly so soap scum never builds a food supply.
- Keep the grout sealed. Sealed grout soaks up less water, so less of it ends up behind the caulk. (Here’s how often to reseal grout.)
- Control the moisture, and the mold has nothing to grow on. That is the core of the EPA’s guidance on mold at home.
Shower Mold Myths That Waste Your Weekend
Myth 1: “You can prevent shower mold permanently.”
You can’t, and anyone selling that is selling something. Mold spores are in every home. Even the articles that promise “permanent” prevention go on to tell you to squeegee daily, scrub weekly, and reseal on a schedule. The real goal is to remove the cause and make upkeep easy.
Myth 2: “Bleach kills the mold in your grout.”
Bleach whitens what it touches. On caulk, that can be enough when the mold is on top. On grout, two separate homeowners who tried a bleach treatment that worked on their caulk reported it did nothing on the grout. Grout is porous, so the color can lift while the problem stays.
Myth 3: “Baking soda and vinegar together make a super cleaner.”
The fizz looks impressive, but it is the two canceling each other out. Mixed together they turn into mostly water, a mild salt and the carbon dioxide you see bubbling, so each one loses what made it useful. Use them as separate steps, as above, so each one does its own job.
Myth 4: “You can caulk right over the old caulk.”
New caulk does not bond to old cured caulk, and sealing over a damp joint traps the water that fed the mold in the first place. In Gladstone, the fix started with getting the old caulk out and the wall dry.
Myth 5: “Caulk lasts a set number of years.”
Ask around and you will hear anything from six months to five years. That spread is the answer: caulk lasts as long as the water behind it allows.
Myth 6: “Recaulking a shower is a quick two-hour job.”
For a seasoned DIYer it can be an afternoon, plus a day or more before the shower can get wet again. Getting every bit of the old caulk out is the slow part, and people who try it for the first time often find the grout coming out with it. After a clean and seal, we ask you to wait 24 to 72 hours before heavy water, depending on the sealer’s directions.
What a Real Fix Looks Like
Most moldy showers do not need a remodel. They need the right small repair, done in the right order.
In Riverside, a homeowner with a leak dripping into the garage below was sure the whole shower pan had to be torn out. It didn’t. The fix was filling the missing grout around the drain, putting caulk in the 90-degree corners where it belonged, and a full clean and seal. They kept their shower and skipped a tear-out.
That is what our Clean & Seal visit is built for. We deep clean the tile and grout, repair the grout that is cracked or missing, replace caulk that has gone moldy, and seal the grout so it soaks up less water. Cracked or missing grout is handled the same visit through our grout repair work. Most of these repairs take one to two days, because new grout and sealer need time to cure. Clean & Seal starts from $350, and the assessment is free.
Mike Voss, owner of Bathroom Bidders, has 13+ years in tile, grout cleaning and sealing, and repair. If it is a cold, we’ll tell you how to treat it. If it is not, we’ll show you why.
Book a free assessment
or call (816) 239-2500
The 45-Second Test, on One Page
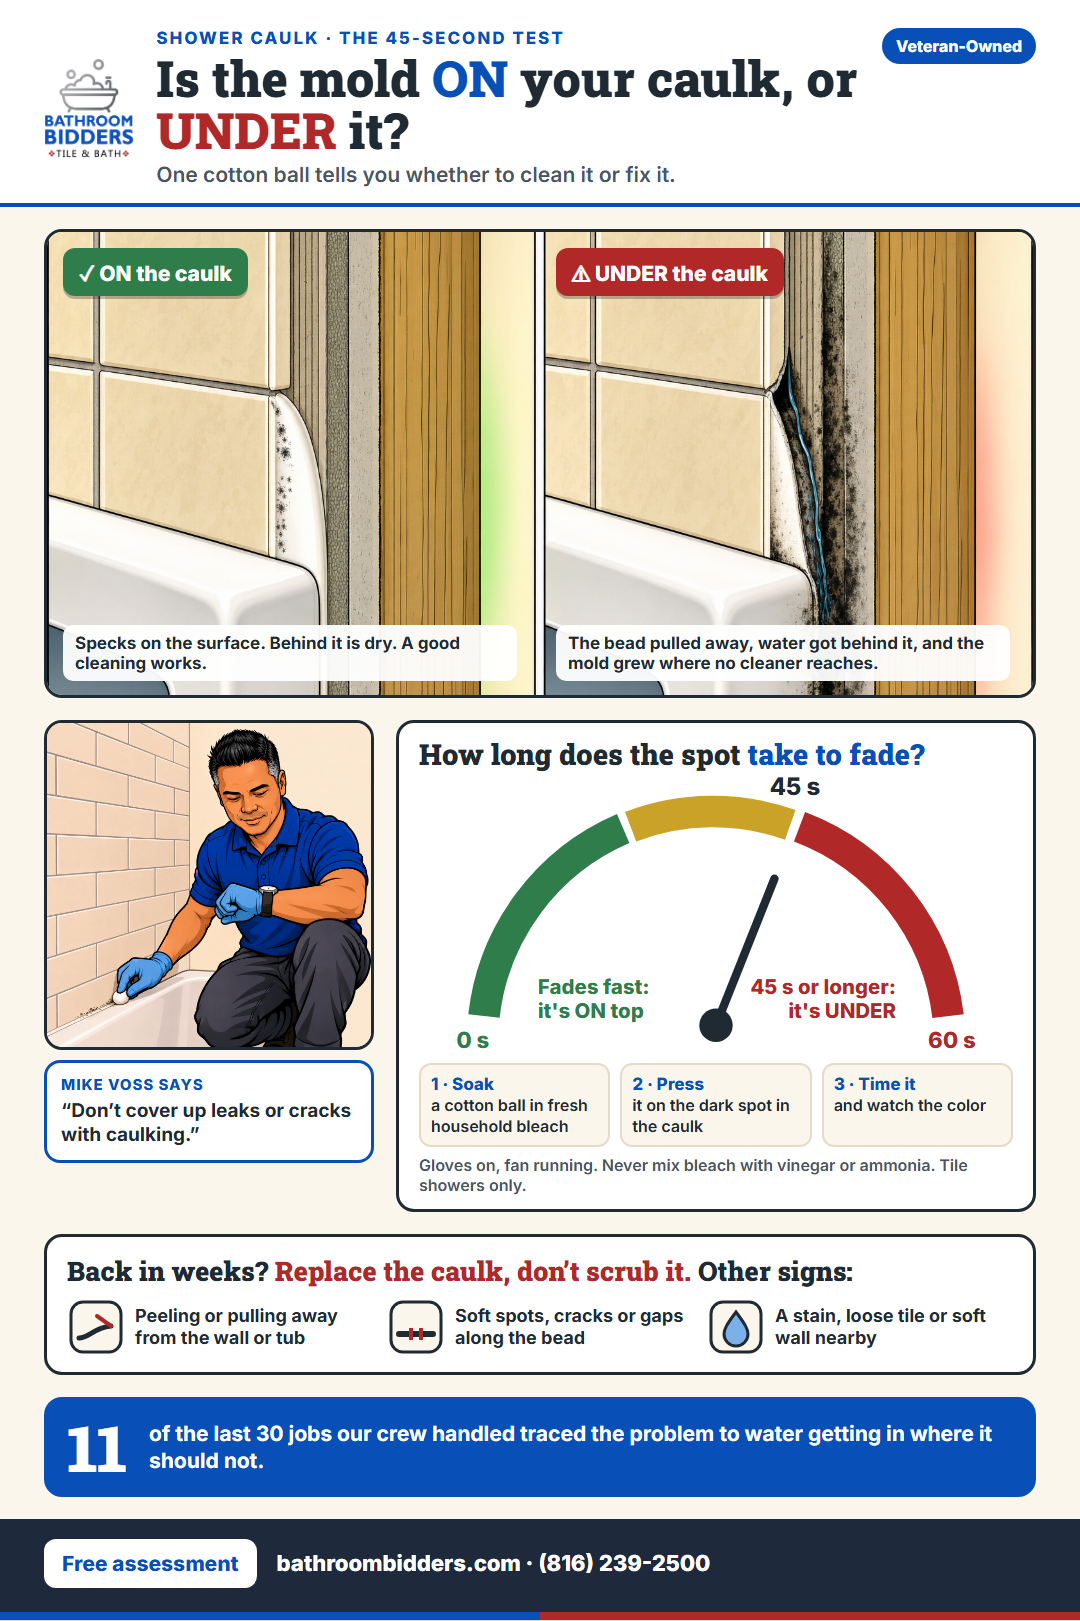
Your Shower Check: Surface Stain or Hidden Water Problem?
Tap where you see the spots, run the 45-second test with the timer, answer four quick checks, and get a plan for your shower.
A 2-minute check to help you decide: clean it yourself, or have the caulk, grout and wall looked at.
Free Download: The Shower Mold Checklist
The test, the cold remedy, the weekly routine and the four signs to call, on two printable pages. Download the shower mold checklist (PDF)
The Golden Rule
Mold in shower caulk that has not faded after 45 seconds under a cotton ball wet with household bleach is usually growing under the caulk, where no cleaner reaches. The fix is to cut the old caulk out, dry the joint, and recaulk, not to scrub harder.
In other words, it is water wearing a mold costume. As Mike puts it: “Don’t cover up leaks or cracks with caulking.”
Mike Voss, owner of Bathroom Bidders
Frequently Asked Questions
Is shower mold harmful?
Most of the black growth people find in a shower is ordinary bathroom mildew. If it covers a large area, keeps spreading, or anyone in the home has health concerns, talk to a professional rather than cleaning it yourself.
Can I caulk over moldy caulk?
No. New caulk will not bond to old cured caulk, and it can seal moisture in. The old caulk has to come out and the joint has to be completely dry first.
Should I use bleach or vinegar on shower mold?
For light mold on top of tile and caulk, vinegar or 3% hydrogen peroxide is a good first step. Bleach can lighten stains on caulk, but it mostly whitens porous grout rather than fixing it. Never mix bleach with vinegar or ammonia, and keep acids off natural stone.
Why did my mold remover turn the grout darker?
Some dark streaks are mineral buildup and soap scum, not mold, and certain cleaners react with them. If a cleaner makes a spot darker, stop and have it looked at before trying something stronger.
Do you fix shower mold in Independence and the Northland?
Yes. We work across the Kansas City metro on both sides of the state line, including Independence, Liberty, Gladstone, Parkville, Riverside, Overland Park, Lenexa and Prairie Village.
How much does it cost to fix a moldy shower in Kansas City?
It depends on what is behind the mold. Our Clean & Seal visit starts from $350, and we give you the full price after a free assessment, before any work starts.